Set up a passkey
Set up · Account Settings
Updated 2026年9月3日Passkeys let you verify sign-ins with your device's biometrics — Touch ID, Face ID, or Windows Hello — instead of typing a code. On ExpiWell, passkeys are used as a second factor after your password.
Step by step
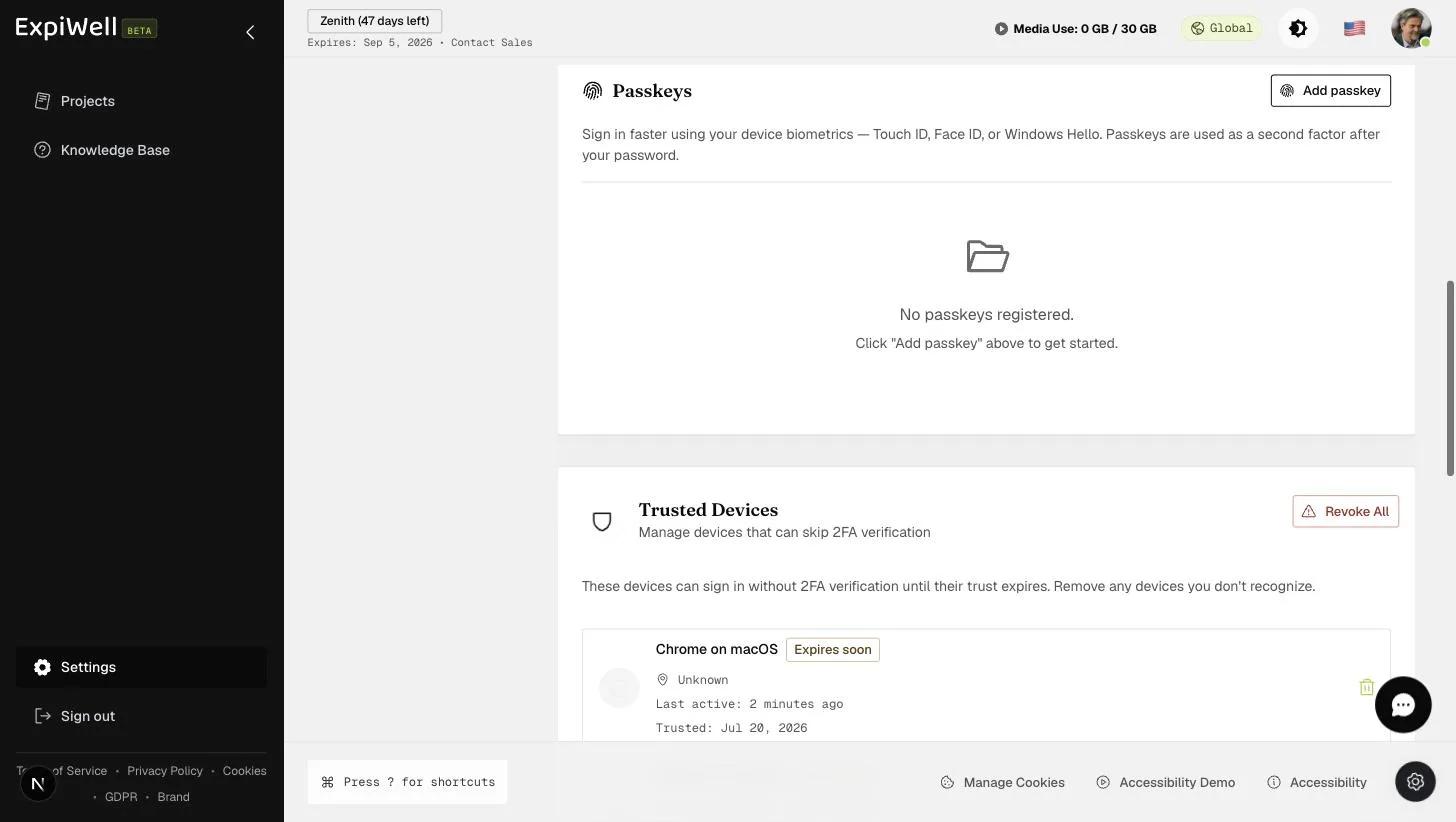
- Open Settings → Security (under Personal) and scroll to the Passkeys card.
- Click Add passkey.
- Follow your browser's prompt — it will ask for your device biometric (or device PIN) to register the passkey.
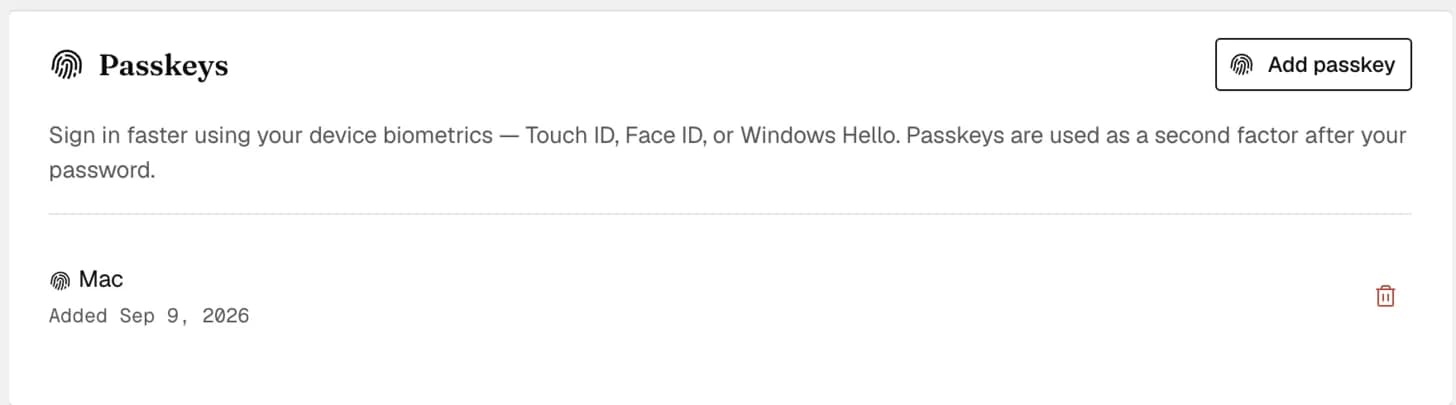
- The passkey appears in the list, showing the device it belongs to and the date you added it. You can add more than one.
Good to know
- Passkeys complement, not replace, your password — you'll still enter your password first.
- Combined with Device Trust, a trusted device can skip repeated 2FA checks entirely.
Watch it in action
Was this helpful?