Making changes to an active project
A Guide to Editing Surveys & Deactivating a Project for Changes
Researchers may sometimes need to edit their surveys or update project settings after launching their study. To edit your surveys, you will not need to deactivate your project. However, the project must be deactivated, updated, and reactivated to edit schedules or other settings. Several critical considerations should be kept in mind, and they are detailed below.
Editing a Survey
You can edit surveys without deactivating the project. Two things to know before you do:
- Changes reach a participant the next time they open that survey, not immediately.
- Editing can change the shape of the project's CSV files. Download anything you need first — the data you have already collected is the part at risk, not the survey.
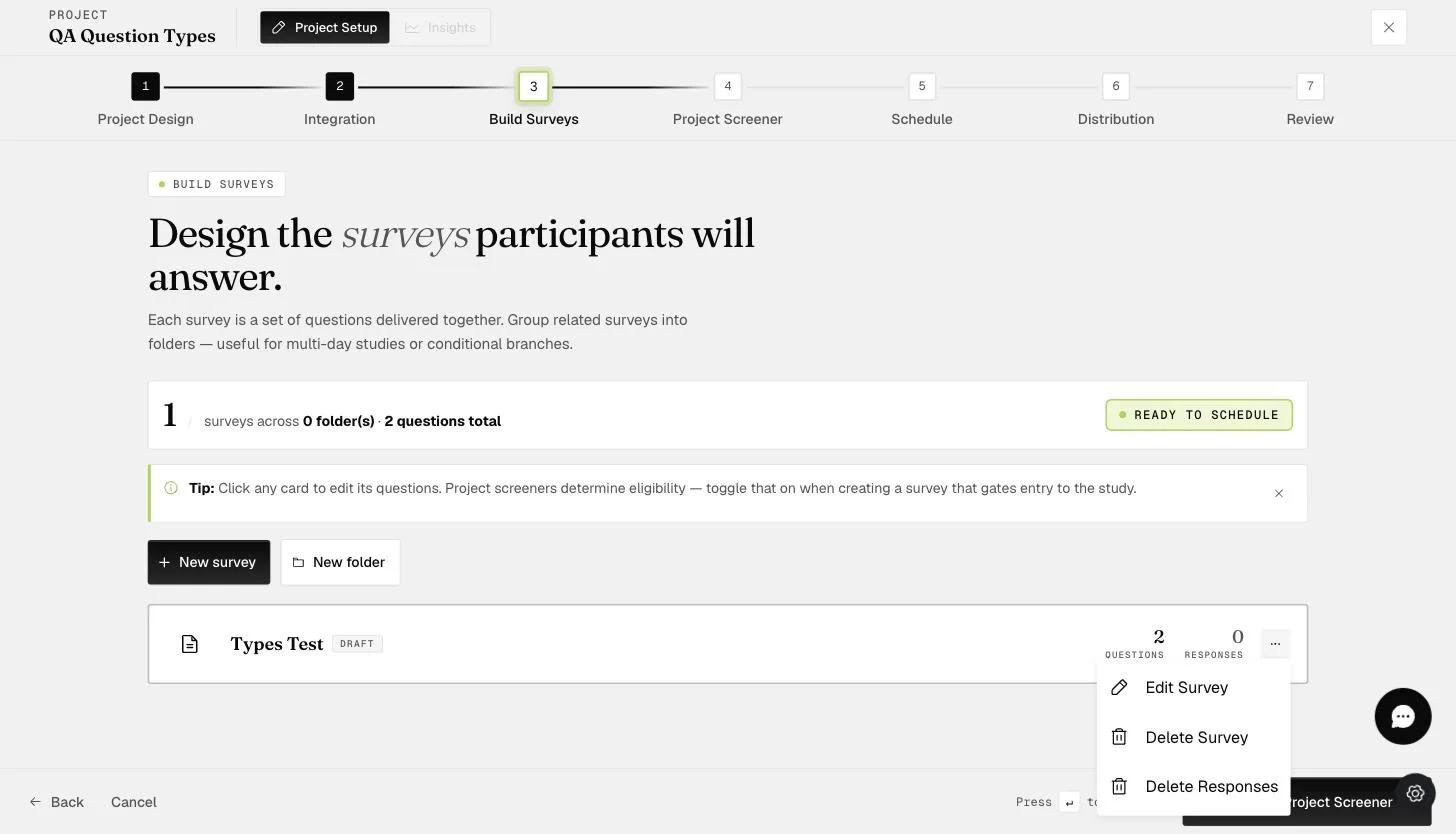
To edit a survey, go to the 'Build Surveys' tab, click on the three dots to the right of the survey you wish to edit, and select the 'Edit Survey' option.
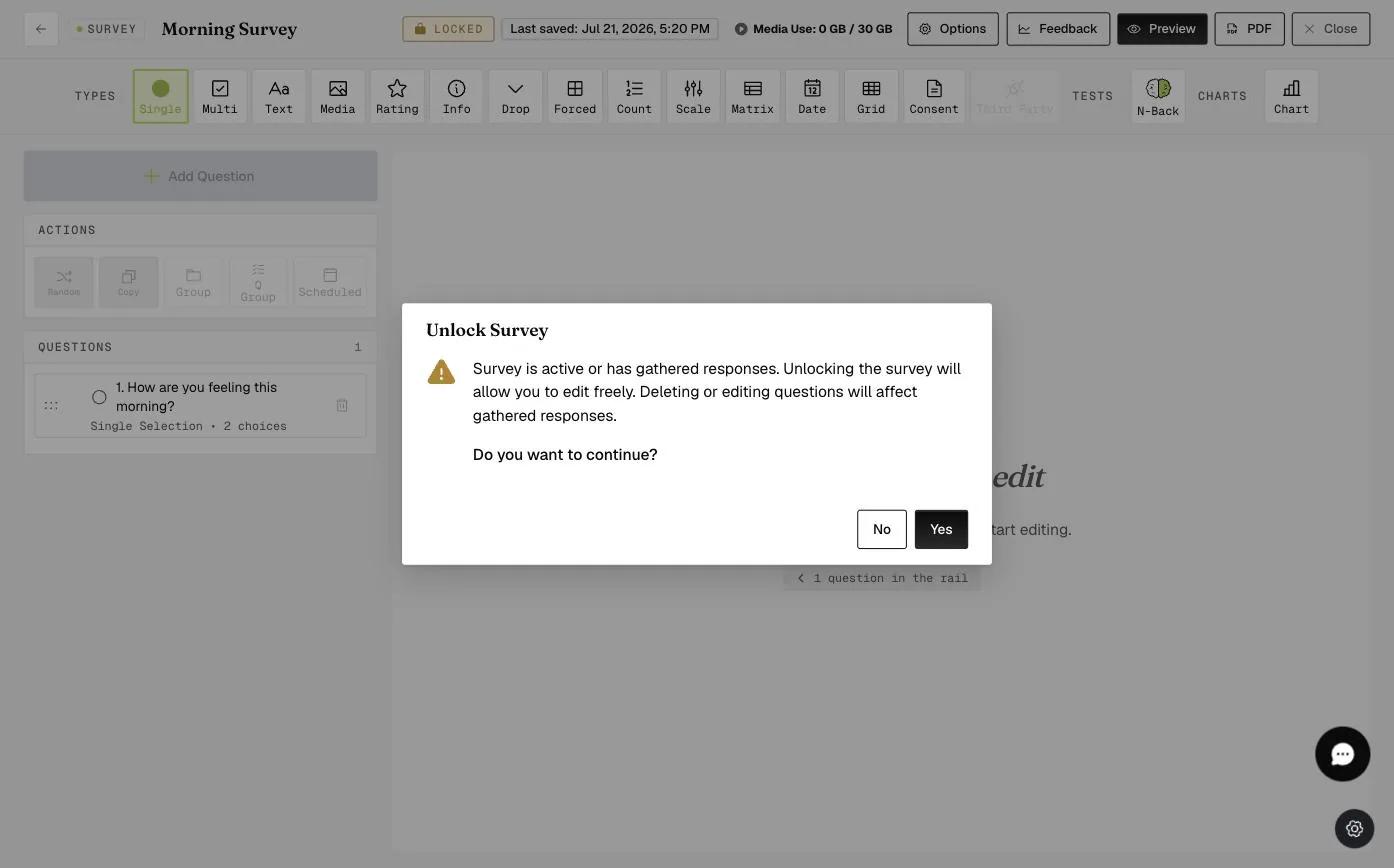
A survey in an active project opens locked. The status chip at the top right reads LOCKED; click it to unlock the survey for editing.

A popup reminder will appear if the project is currently activated, has data collected, or has participants added. Click 'Yes' if you would like to proceed.
A second warning follows, and it is narrower than it first appears: it is about numeric values. "Changes to response choices will affect collected data generated in numeric values. If you require the data in numeric format, please download it before proceeding with any changes."
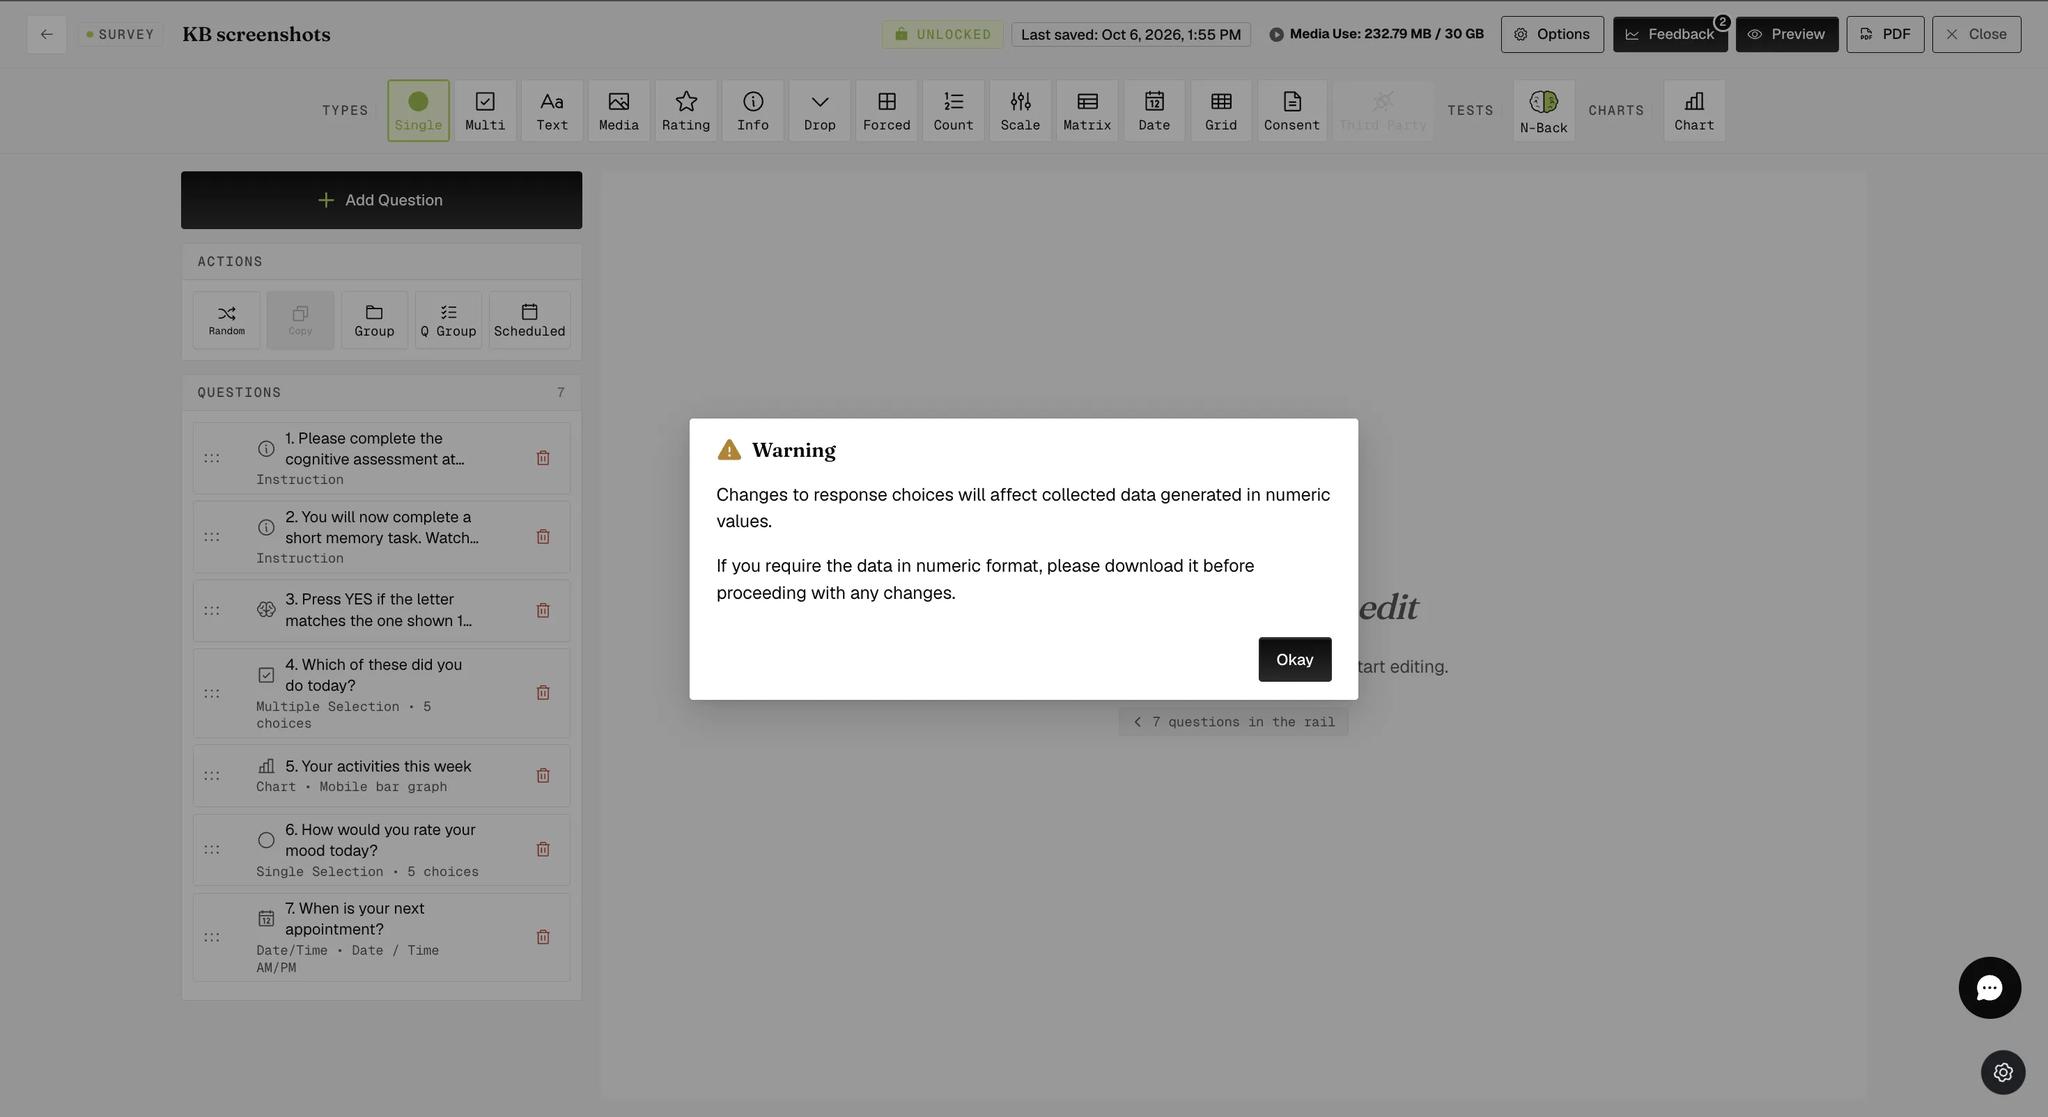
This is about coded answers, not your export generally. A response stored as a number takes its meaning from the position of the choice it came from, so reordering, adding or removing choices changes what the old numbers refer to. Export the numeric data first and the codes stay interpretable; skip it and you are left guessing which option a 3 used to mean.
The status chip then reads UNLOCKED and the survey is editable.

Deactivating a Project for Schedule or Distribution Changes
Researchers will need to deactivate the project to make changes to the Schedule and Distribution tabs. These include changes to survey scheduling, event triggering, reminders, and edits or deletions of temporary participant accounts or participants invited by email.
Adding is the exception. While a project is active you can still add new email invitations — the step says so across the top — and the temporary accounts panel still lets you generate accounts. What an active project blocks is changing or removing what is already there.
What schedule changes cost
Adjustments to the Schedule settings may disrupt participants currently engaged in the project. To reflect these changes, participants must remove the project and re-add it through their mobile app, causing their progress to reset and restart from day one. In such situations, it might be better to introduce a new project with the updated settings rather than modifying the existing one.
While it is deactivated
Nobody can join. Anyone mid-study keeps what they have, but a new participant trying to enrol simply cannot, so make these edits when you are not expecting arrivals.
All of this is an argument for piloting properly. A schedule you change after launch costs your participants their progress; a schedule you got right in a pilot costs nothing.
How to Deactivate and Reactivate Your Project
To deactivate or reactivate a project, the creator opens the project and goes to the Review step.
To deactivate, click Deactivate at the bottom right of the Review step.
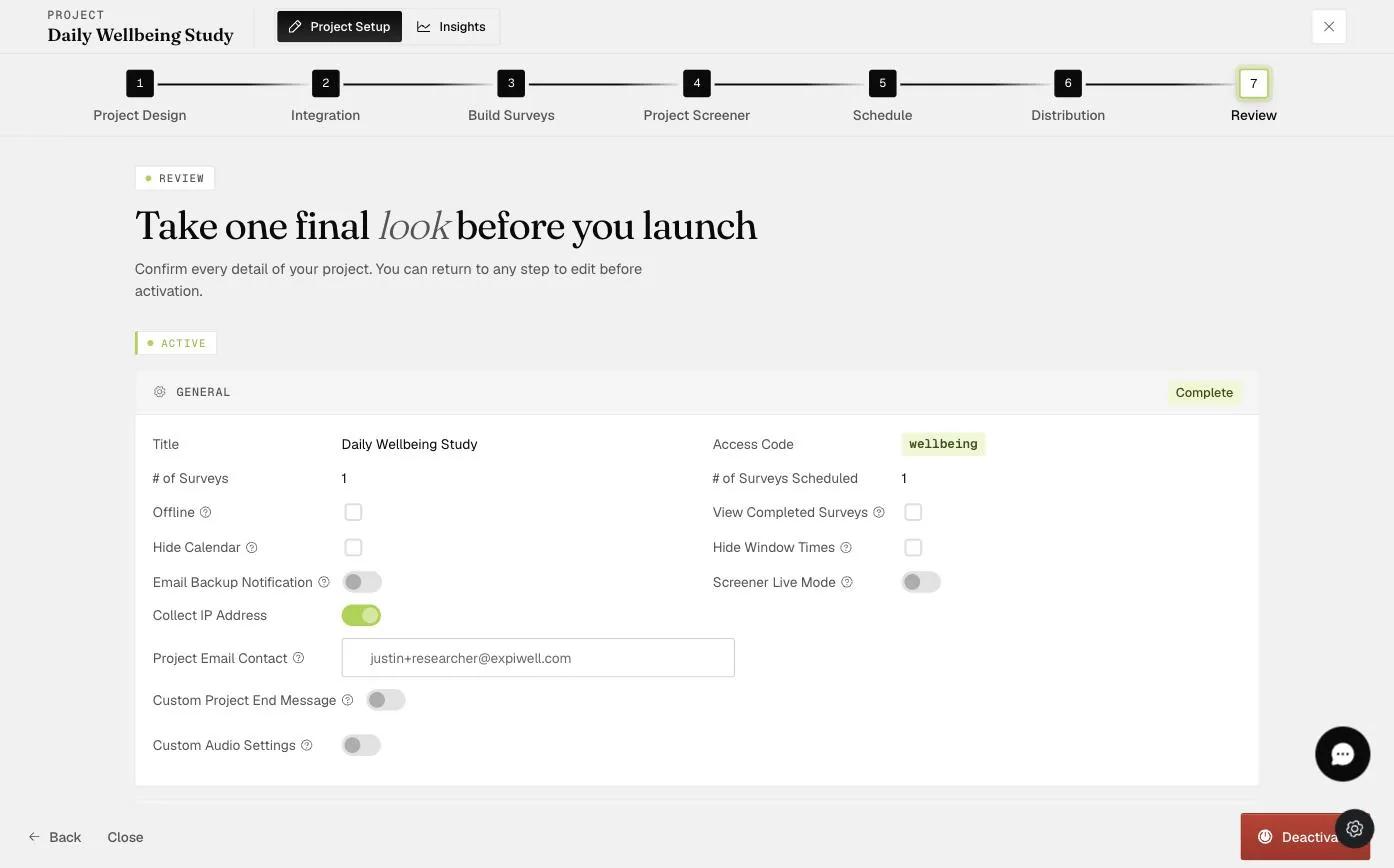
A green bar confirms it, and the button becomes Activate. Two other things change on the page: the ACTIVE badge disappears, and the notice about activation locking your schedule and screener comes back — the page has returned to its pre-launch state.
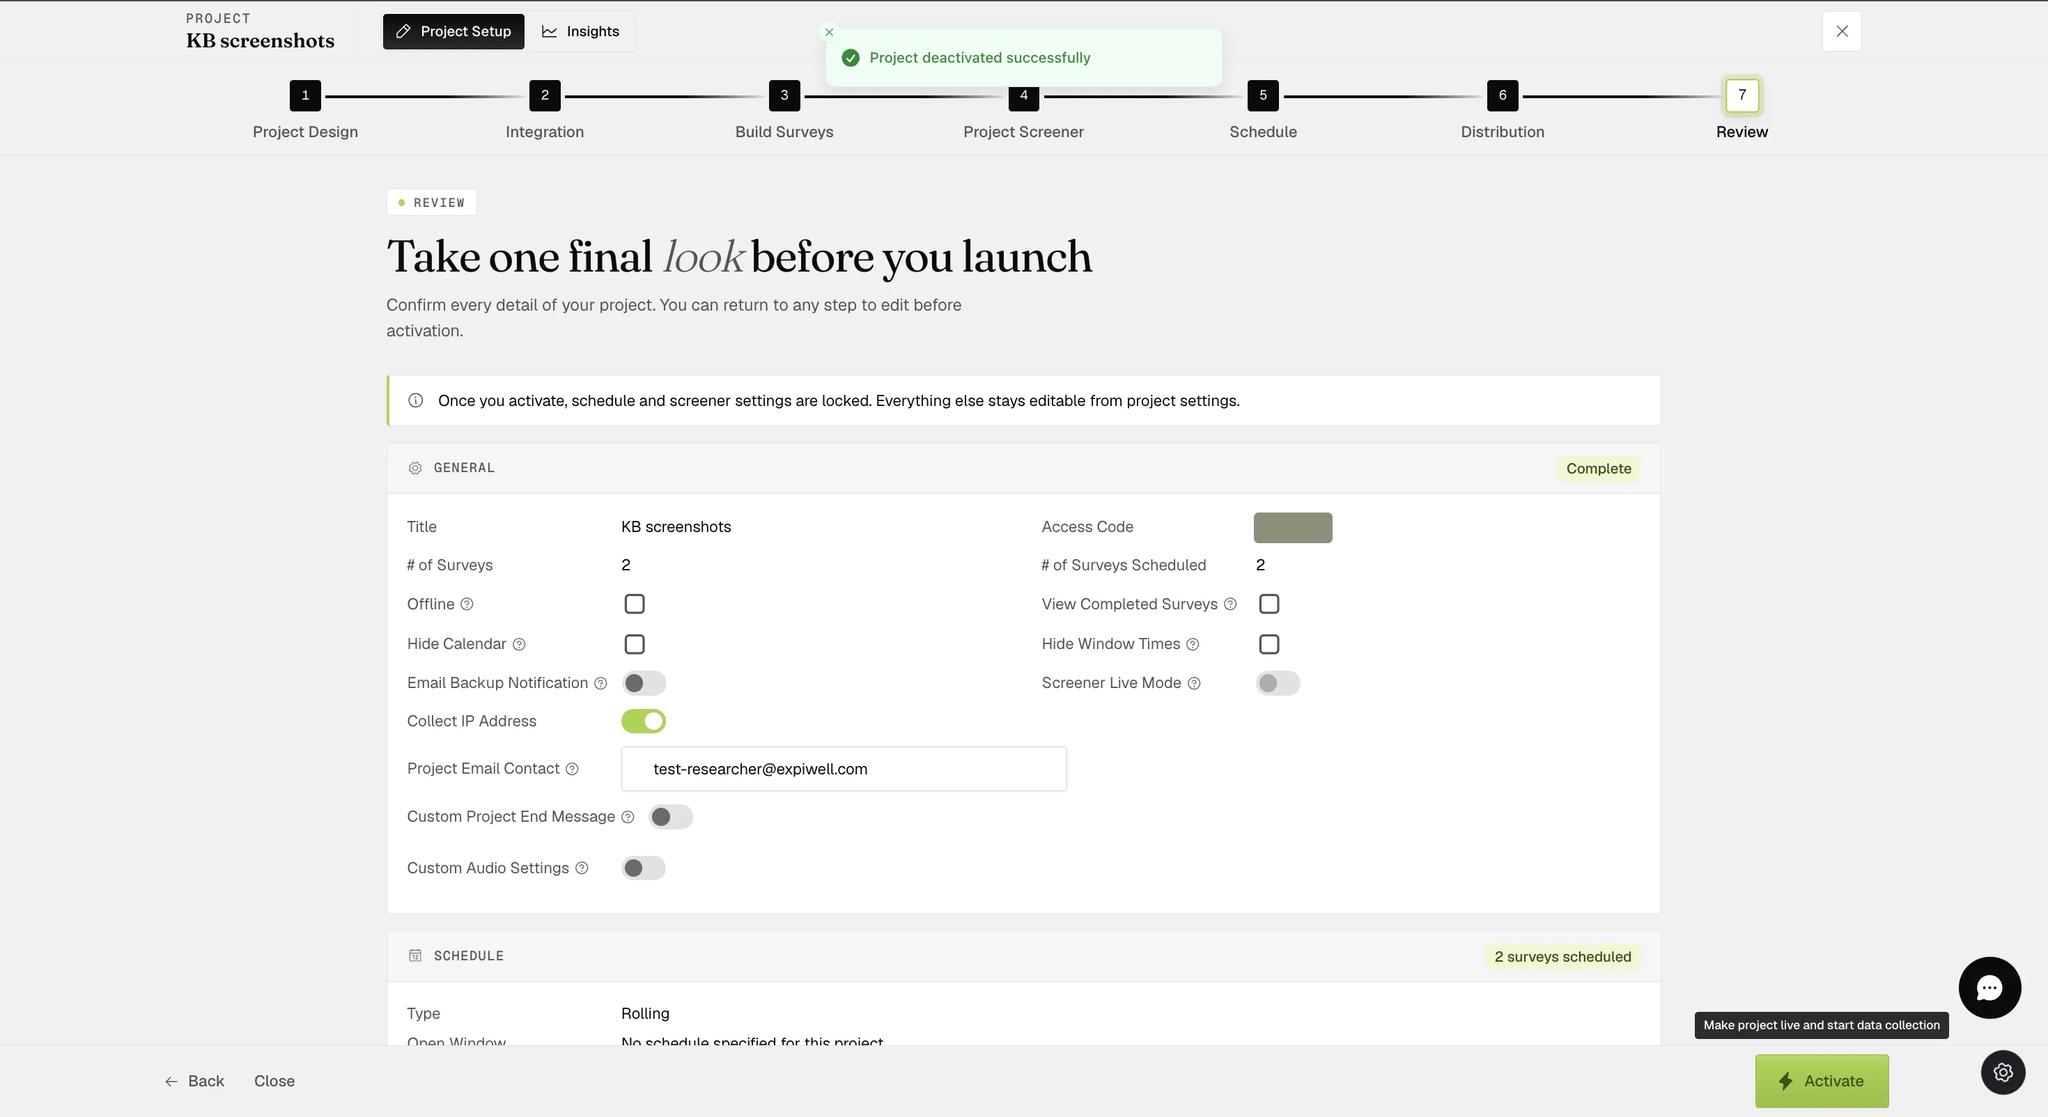
To reactivate, click Activate when your edits are done. The ACTIVE badge returns and the button becomes Deactivate again.
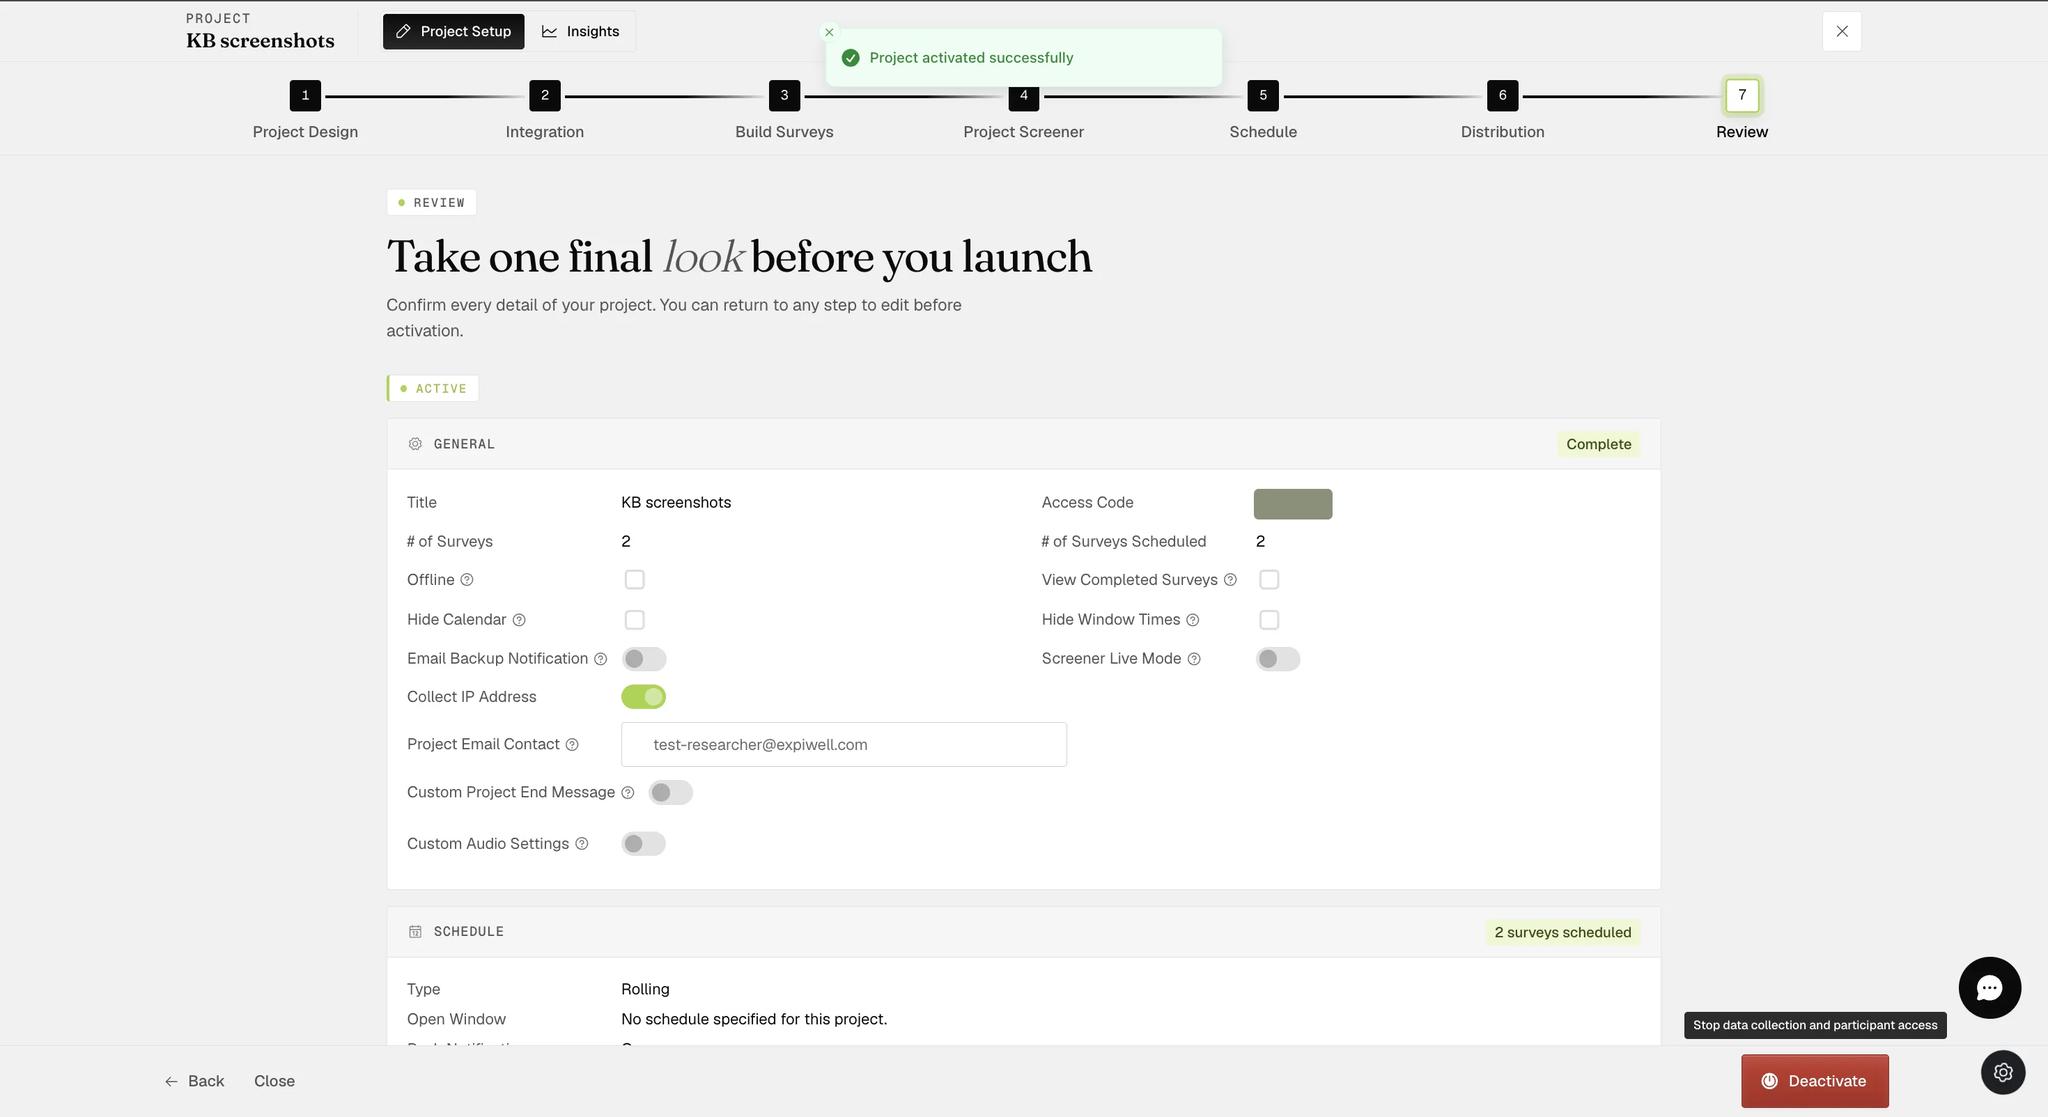
The two buttons say what they do if you hover them: Deactivate stops data collection and participant access; Activate makes the project live and starts data collection. Deactivating is not a pause for you alone — it closes the study to everyone while it lasts.